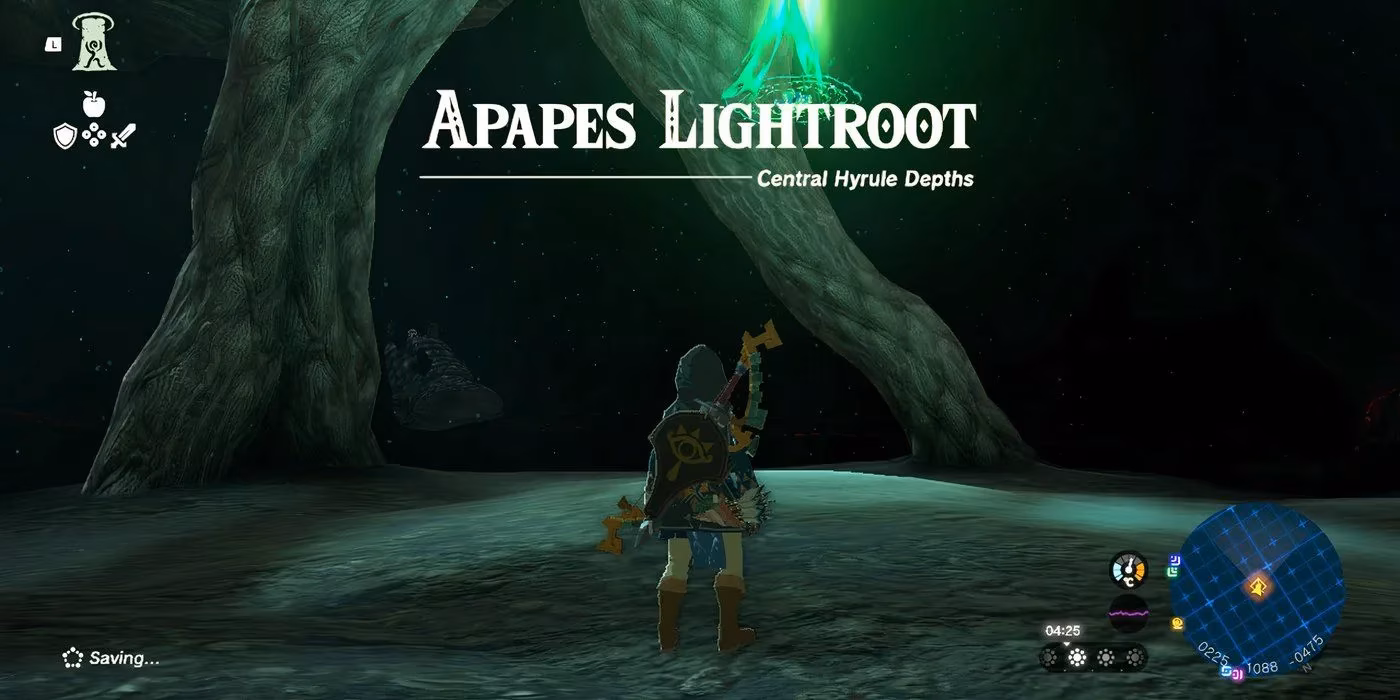
Let me tell you about the time I got completely stumped trying to find the Apapes Lightroot in The Legend of Zelda: Tears of the Kingdom. I was exploring the Depths, that massive, terrifying underworld, and I kept hitting this giant, impassable wall. No matter which way I went, I couldn't get to that glowing beacon on my map. It turns out, this particular Lightroot isn't just hidden; it's locked away in its own little pocket dimension beneath Hyrule Castle, and reaching it requires a specific, secret entrance. For those of us trying to light up every corner of the map and earn that coveted Dispelling Darkness Medal, it's a puzzle that demands a clever solution, not just brute force exploration.
Pinpointing the Target: Where is Apapes Lightroot?
First things first, I needed to know exactly where I was going. The Apapes Lightroot is located deep in the Depths, directly beneath the surface world's Sepapa Shrine. If you pull up your Purah Pad, you can set a waypoint using the coordinates 0221, 1084, -0474. That glowing shrine on the surface is your overhead marker, but here's the catch—you can't just dig straight down from there!
The area of the Depths containing the Apapes Lightroot is completely walled off from the main cavern networks. It's like a sealed chamber. This means all the usual methods of descending through chasms in the area won't get you there. I learned this the hard way after several frustrating attempts. The game essentially forces you to find the one keyhole that fits this particular lock.
The Secret Gateway: Hyrule Castle Moat East Chasm
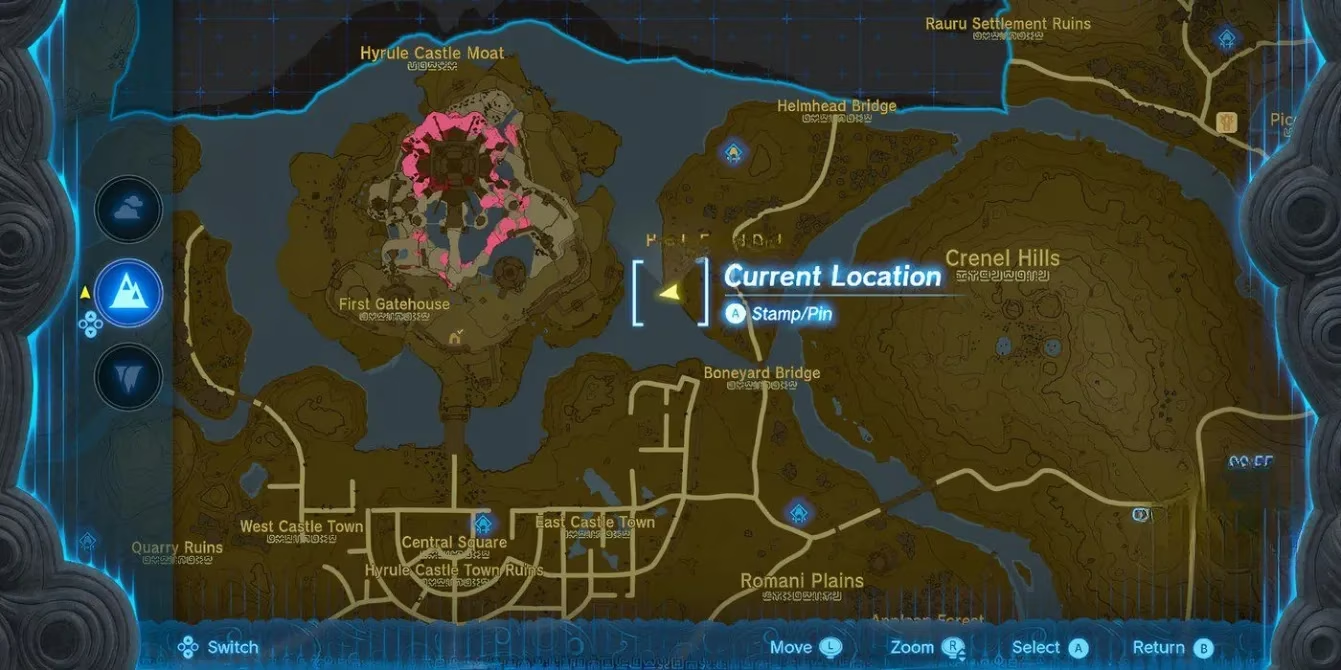
So, where is this secret entrance? This is where my adventure truly began. You need to travel to the coastline south of the Sepapa Shrine's surface location, east of Hyrule Castle itself. I stood on a cliff overlooking the water, the castle looming in the background. The solution wasn't to dive into the nearest hole, but to look for a very specific geological feature.
Here was my process:
-
Positioning: I headed to the southern coast, east of the castle moat.
-
The Leap: I jumped off the cliff and immediately deployed my paraglider.
-
The Search: While gliding, I turned back to face the cliffside I just jumped from. I was looking for a dark opening, a cave mouth just above or at the waterline.
-
The Entrance: There it was! A tunnel leading into the rock. The current was strong, so I had to glide carefully or use a quick swim dash to get inside.
Upon entering, the location name "Hyrule Castle Moat East Chasm" appeared on my screen. Success! I had found the only path to the isolated chamber.
The Descent and Discovery
Standing at the mouth of the chasm, I looked down into the inky blackness peppered with the ominous red Gloom. Taking a deep breath, I stepped off the ledge and began my descent.
My strategy for the dive was crucial:
-
Freefall First: I let myself drop freely to build up speed and pass through the dangerous Gloom zones quickly.
-
Watch for the Change: I kept a close eye on my surroundings. The goal was to fall until the pervasive red Gloom particles began to thin out and disappear.
-
Deploy at the Right Moment: The second the Gloom cleared, I snapped open my paraglider to slow my fall. In the newfound (relative) clarity, I scanned the darkness.
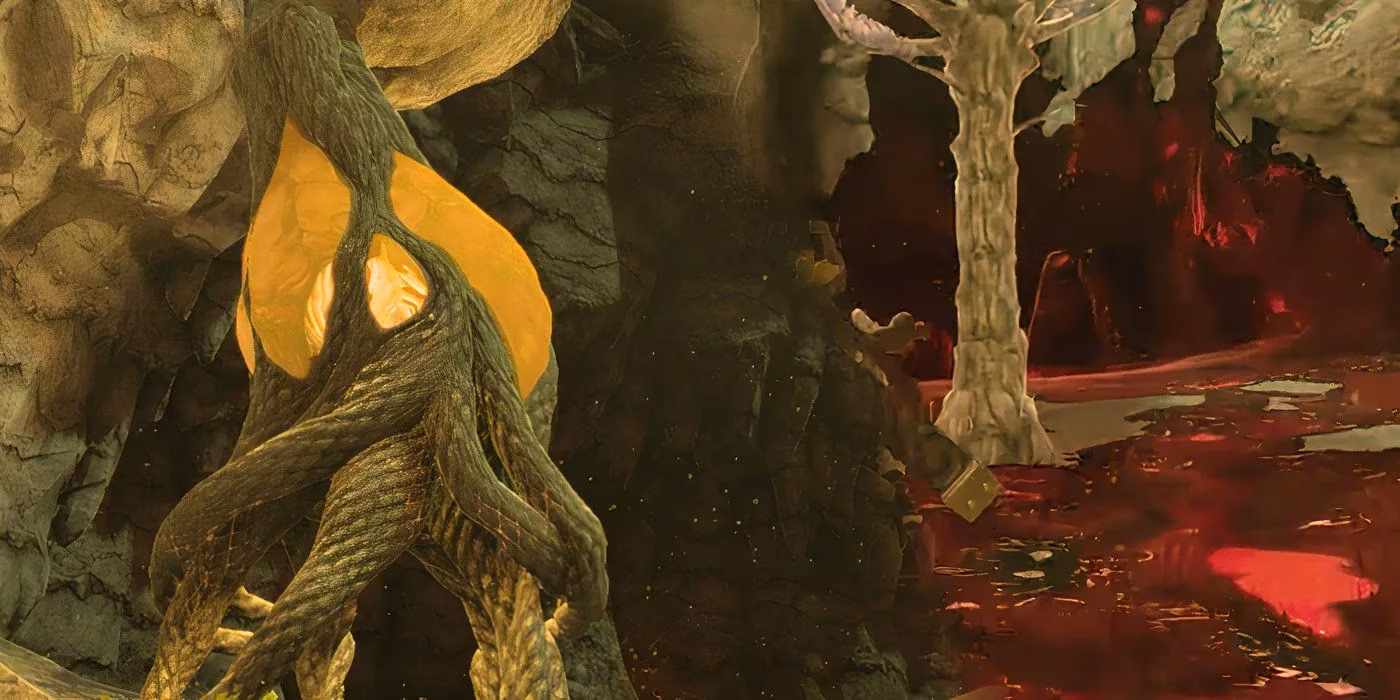
And then I saw it: a faint, warm, orange glow in the distance. That was the Apapes Lightroot itself, sitting alone in its walled garden. I guided Link toward it, landed, and finally activated it with a touch. The familiar burst of light erupted, permanently illuminating this secret pocket of the Depths and adding its icon to my travel map.
Why Bother? The Rewards of Exploration
You might wonder, "It's just one fast travel point in a dead-end area. Why go through all this trouble?" For a completionist like me, the reasons are compelling:
| Reason | Description |
|---|---|
| Map Completion | Each activated Lightroot reveals a portion of the Depths map. To see the entire underworld map unfogged, you need every single one. |
| The Dispelling Darkness Medal | This is a special key item rewarded for activating every Lightroot (that's 120 of them!). It's a badge of honor for total exploration. |
| Strategic Travel | Even secluded travel points can be useful for specific resource farming or avoiding long treks from certain surface points. |
| The Joy of the Puzzle | Honestly, figuring out this spatial puzzle—connecting the surface shrine to a non-obvious coastal chasm—was incredibly satisfying. It's classic Zelda problem-solving. |
Final Tips from My Journey
Looking back, here are the key takeaways that helped me and can help you:
-
Coordinates are Key: Always use the coordinates (0221, 1084, -0474) to mark your target. The surface shrine is your beacon, but the entrance is elsewhere.
-
Glide & Scan: When searching for the chasm entrance along the coast, gliding is essential. It gives you the control and perspective needed to spot the opening in the cliff.
-
Mind the Gloom: During the descent, don't panic and open your paraglider too early. Falling through the Gloom quickly is safer than floating in it. Wait for the environment to clear.
-
Embrace the Detour: Tears of the Kingdom constantly rewards indirect thinking. If the direct path is blocked (by a giant wall, no less!), the solution is always a creative detour.
Finding the Apapes Lightroot was a memorable mini-adventure within the vast world of Hyrule. It reinforced that in this game, the journey—the process of unraveling a mystery—is often just as rewarding as the destination. Now, with this area illuminated, I'm one step closer to that Dispelling Darkness Medal and a fully mapped Depths. On to the next challenge!
Comments